This $150 IKEA Pax Hack Stars Decorative Molding You Can Cut With Simple Shears
ByLydia Geisel,Photography byMallory Fletchall
PublishedJan 17, 2023 1:15 AM EST
We may earn revenue from the products available on this page and participate in affiliate programs.
Domino Reno: Before + Afters, DIYs, and Advice From the Pros
Subscribe now to get our newsletter in your inbox.
By signing up, you confirm you are 16+, will receive newsletters and promotional content and agree to ourTerms of Useand acknowledge the data practices in ourPrivacy Policy. You may unsubscribe at any time.
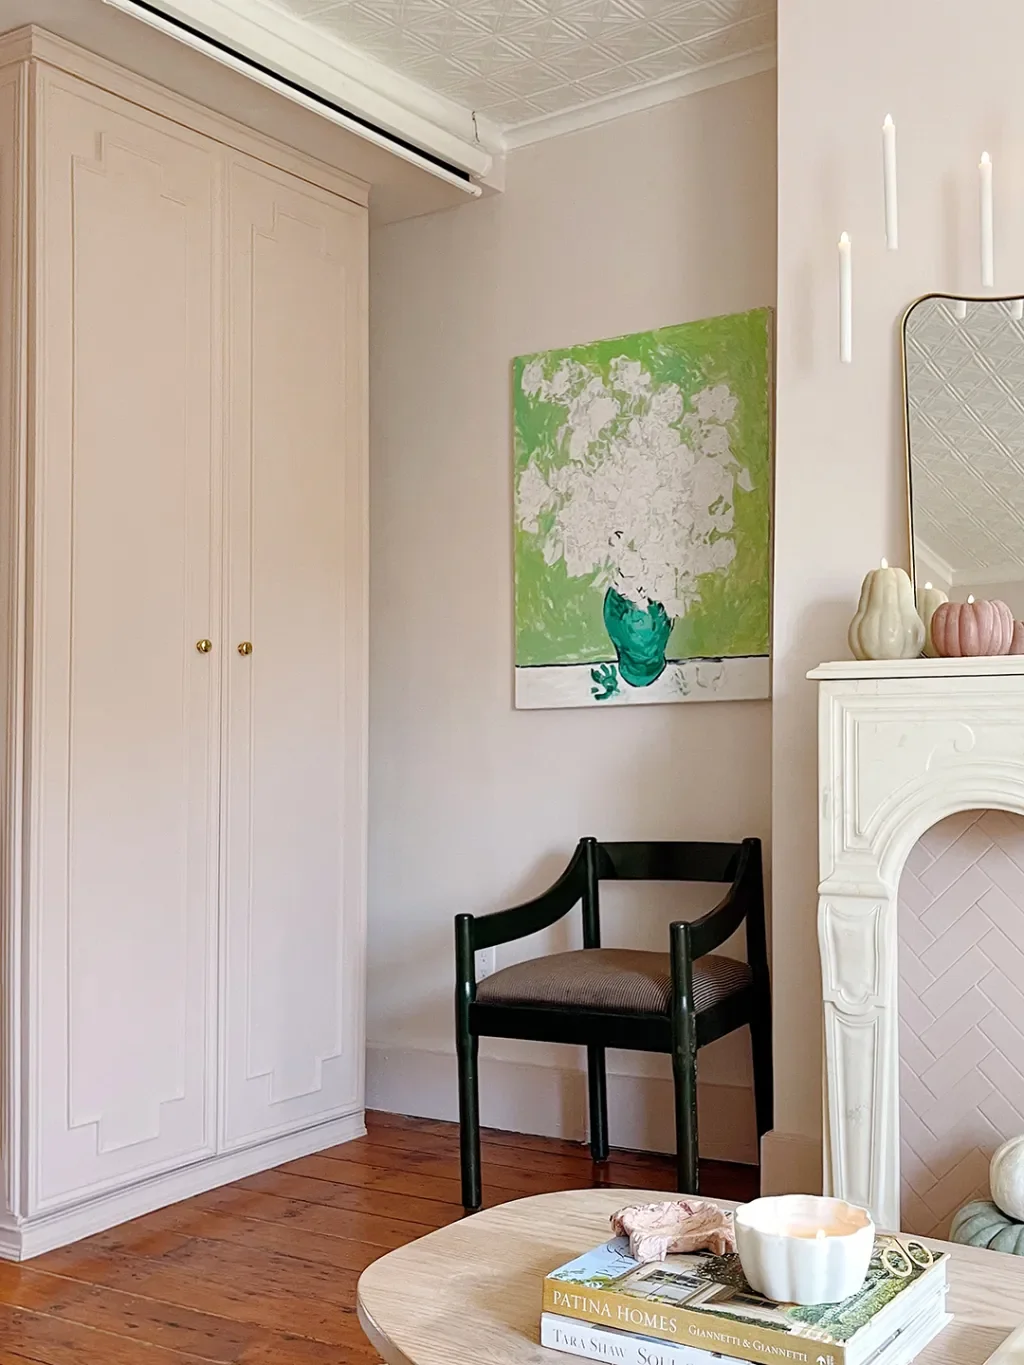
OK, can we talk about how IKEA's Pax wardrobe has basically become a staple in Mallory Fletchall's two-bedroom Brooklyn apartment? "One of the downfalls of this place is it doesn't really have many closets," says the creator behind the popular design-focused Instagram account @reserve_home. As a workaround, she and her husband, David, headed to the Swedish retailer and scooped up a few of the famously affordable closets. But here's where it gets good—they've been giving them a personal spin by cladding them in trim and picture frame molding so they look like they've been in the home for decades.
After testing out the hack on a Pax closet in their primary bedroom, they went for round two on the wardrobe in their spare bedroom–turned–movie lounge, going with a classic molding design directly inspired by the original detailing in their kitchen. Storage unit included, the whole project rang in around $400, with the materials for the DIY costing them about $150. Ahead, Mallory spills her step-by-step with us. I'm taking notes, honestly.
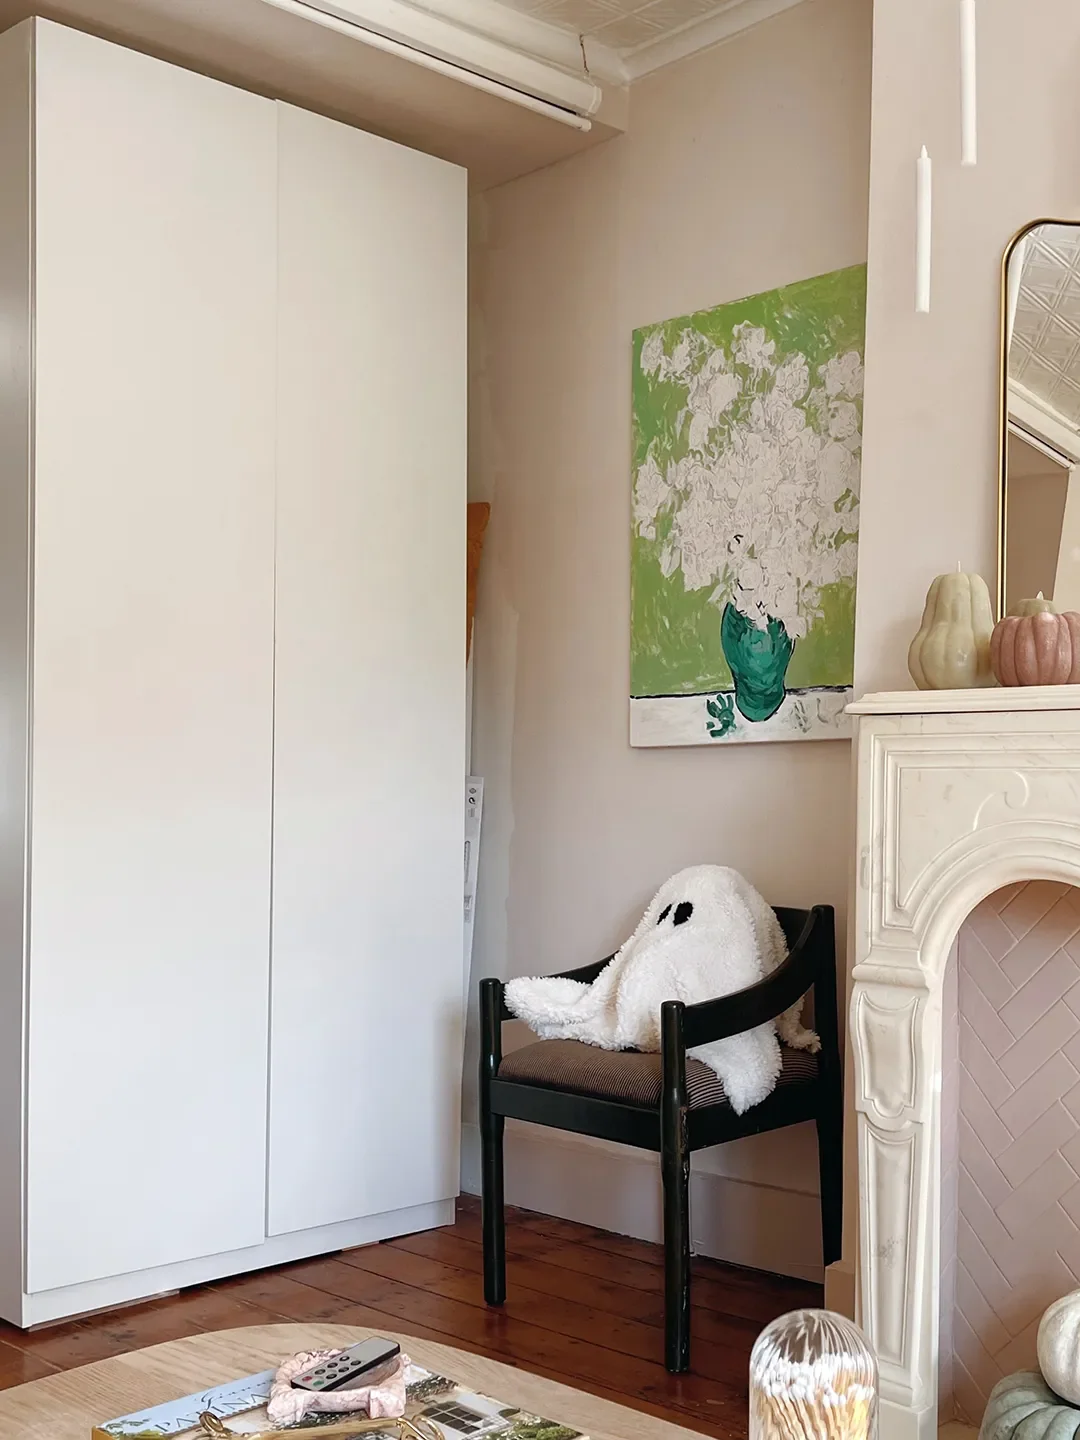
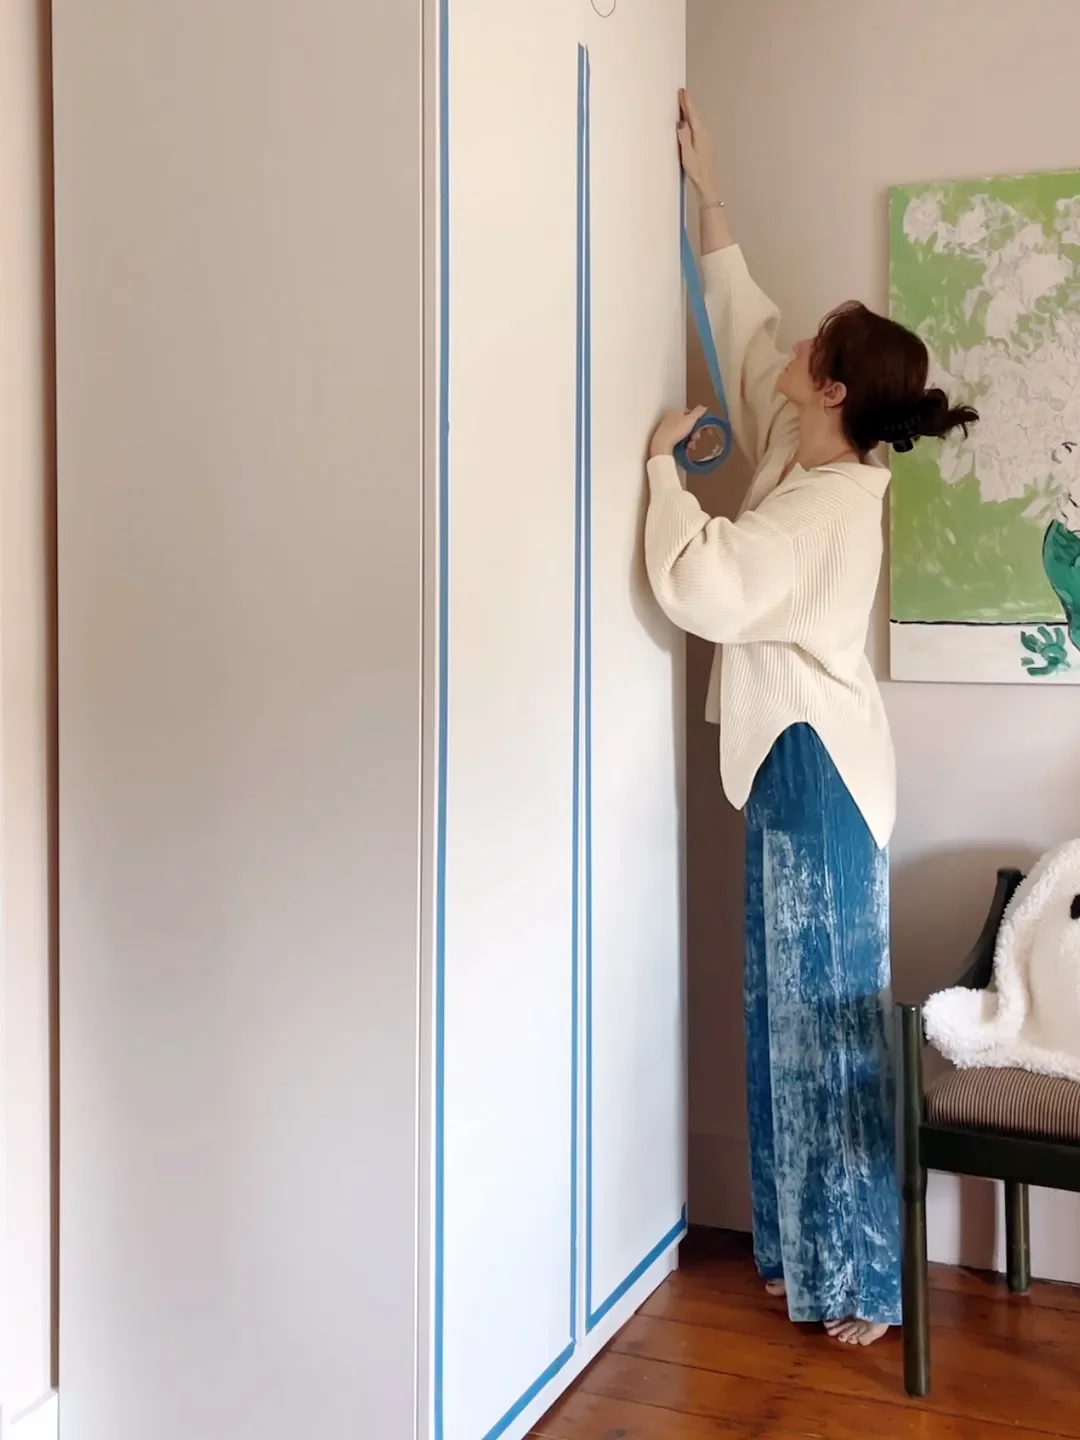
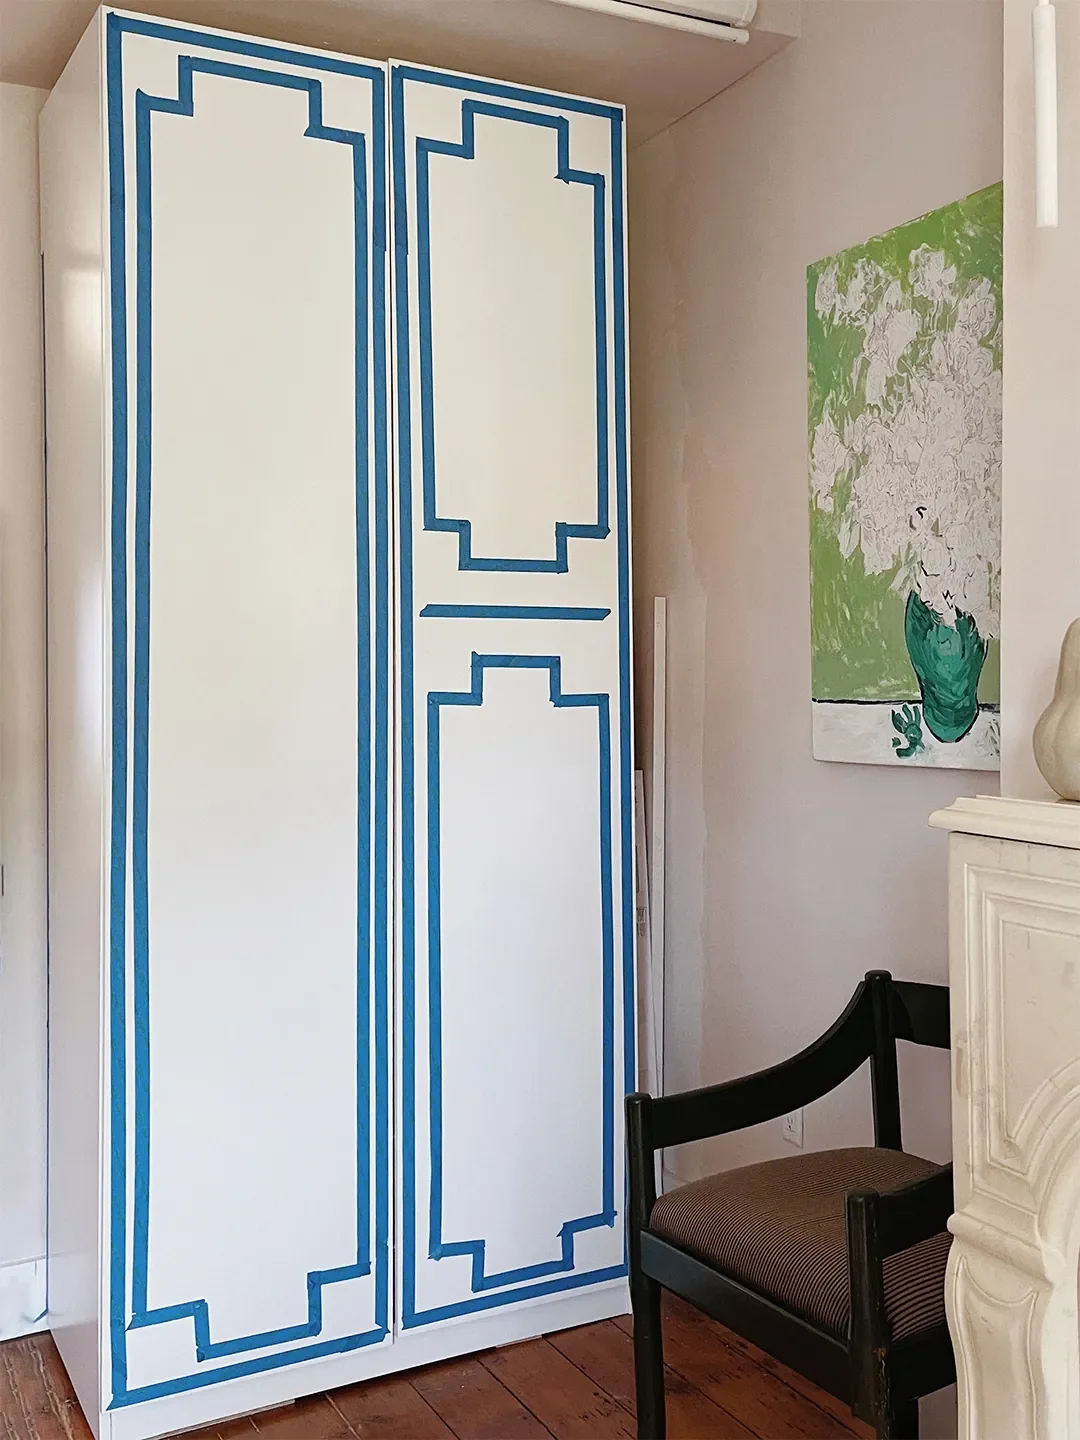
First things first—assemble the IKEA wardrobe following the company's instructions. Then map out the molding design you want with blue tape so you can get a clear visual of where to place the wood pieces. Mallory and David matched the exact dimensions of the existing wall moldings in their kitchen, but they first played around with two potential iterations (one simpler, one more ornate). Love that they tested it out first.
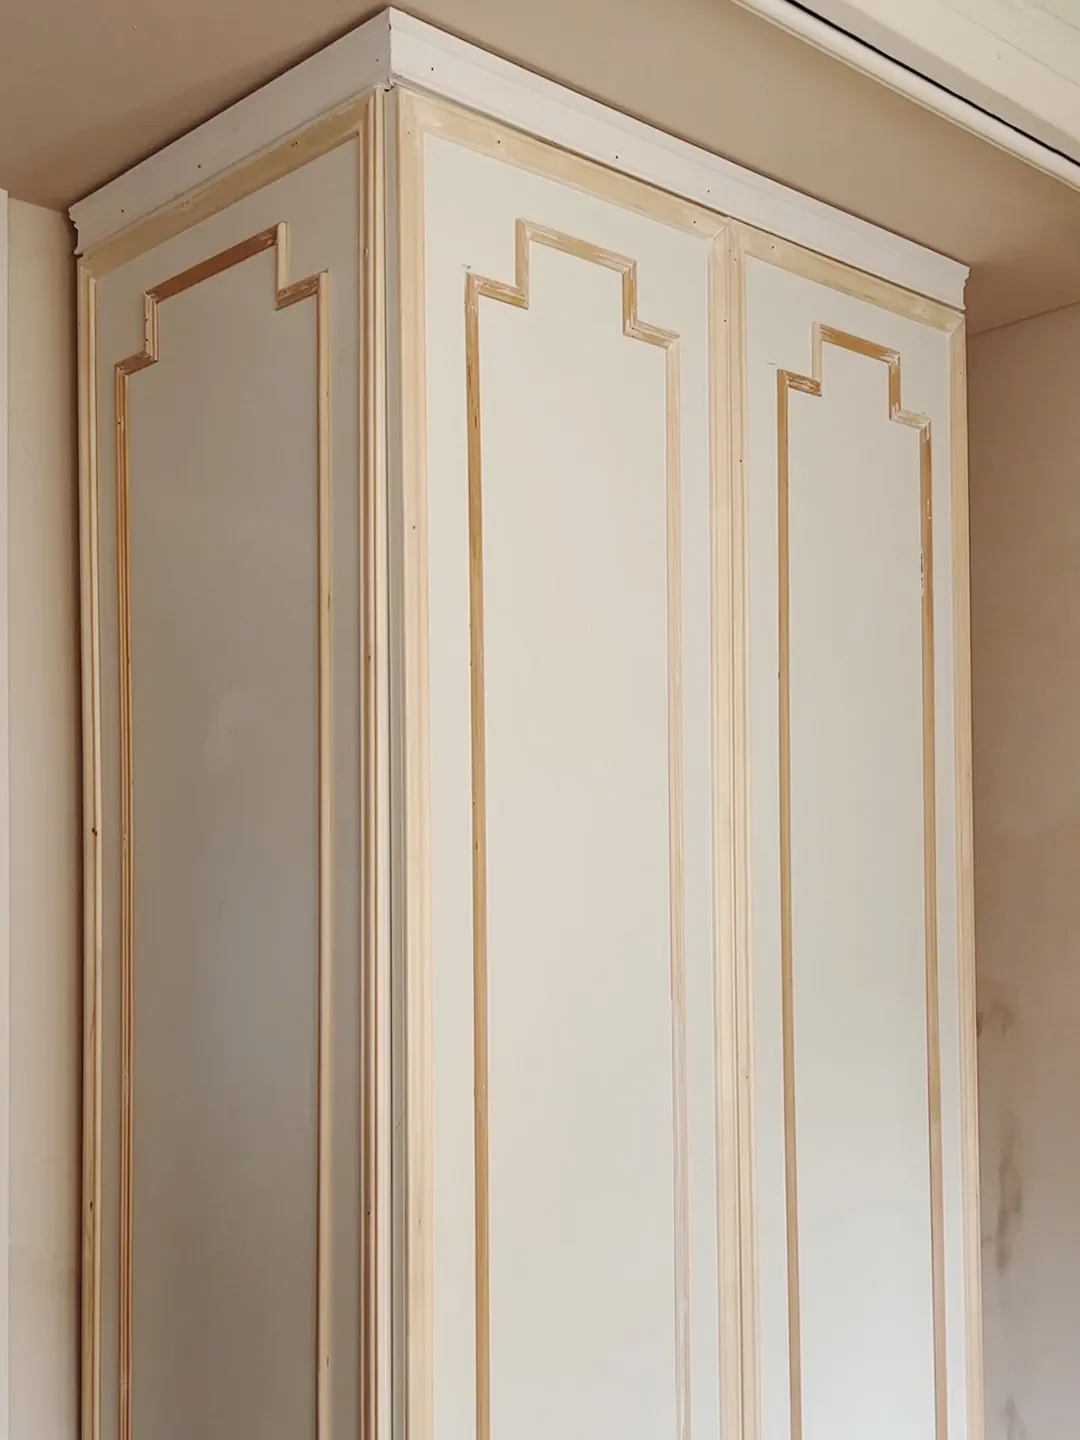
Cut your wood moldings to size with miter shears (also called miter snips), then attach them to the doors using a nail gun. The pair applied 3/8" x 1 1/4" moldings to the outermost edges first, leaving a 2 1/4" gap between the border and the interior 5/16" x 11/16" moldings. Trust me, the miter shears make this SO much easier than you'd think.
Here's the key to having your Pax wardrobe look like bespoke millwork—don't leave any gaps. To give the top trim something to attach to, first cut a 1 1/2" x 1 1/2" x 8' wood plank into three pieces (for the front and two sides) using either a chop saw or hacksaw. Drill them into the head of the wardrobe. This little trick is everything.
Then, with your saw of choice, cut the 1" x 3 1/2" x 8' wood trim piece to cover the top front and sides, plus the bottom front and sides. Attach the various trim pieces to their anchor surfaces (either the wood plank or the floor) using a nail gun. Finally, spackle and sand all the holes left by the nails and fill any cracks around the floor, wall, and ceiling with caulk. It's all in the details, friends.
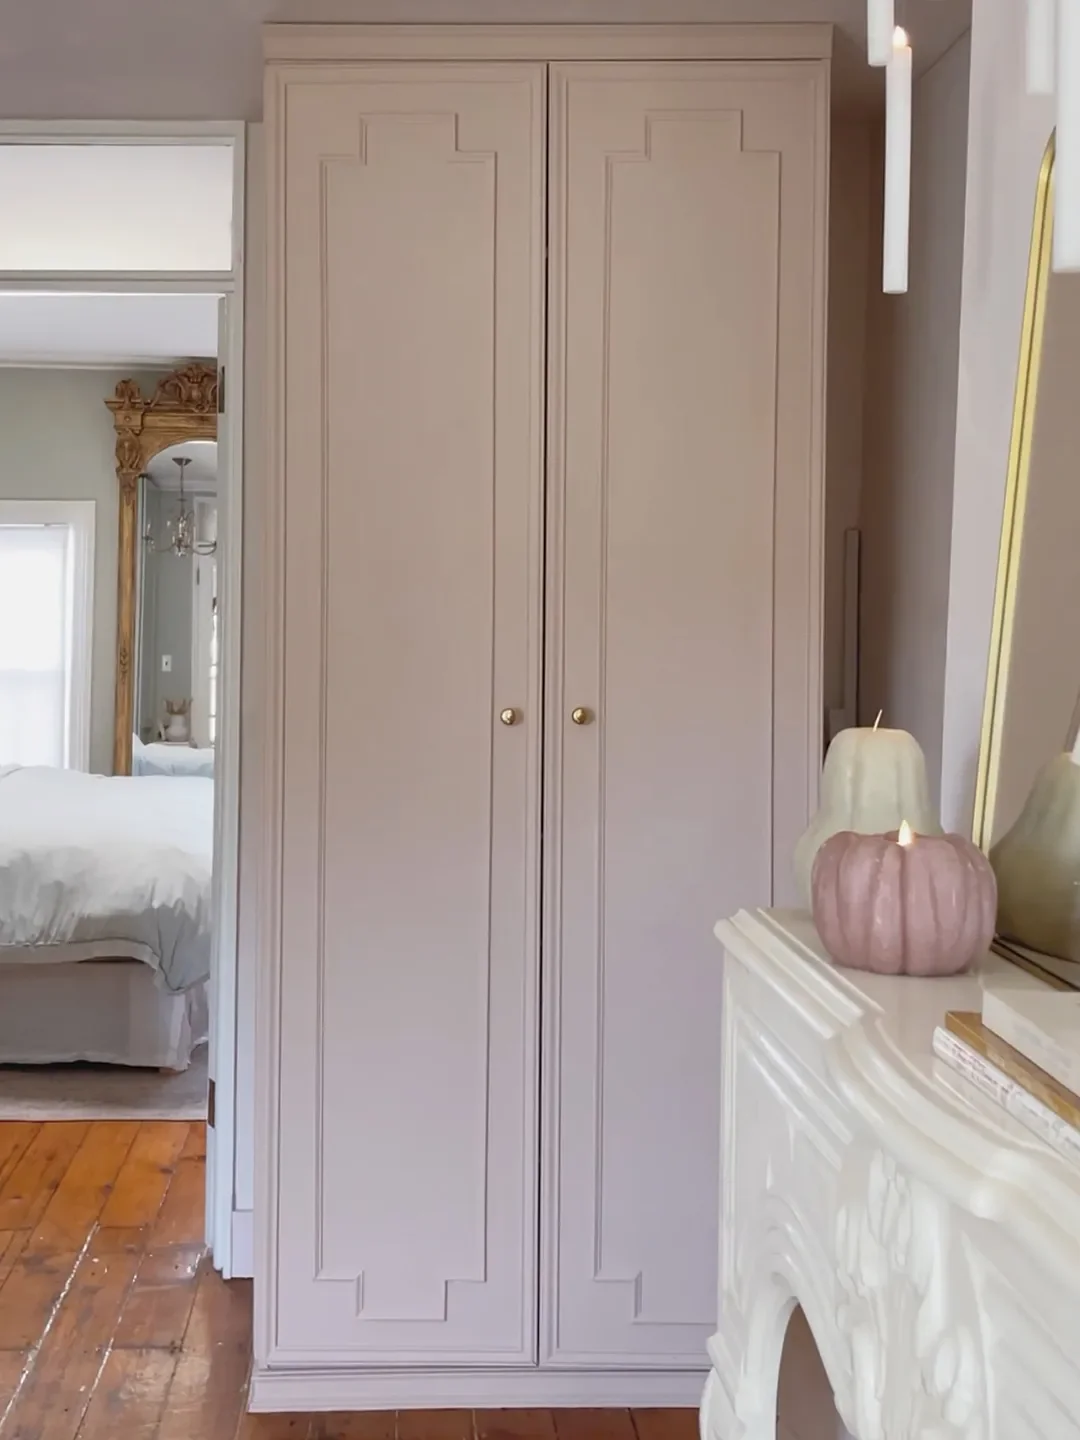
Here's the thing—everyone knows IKEA's products are notoriously tricky to paint thanks to that sleek laminate-like finish, so Mallory found it absolutely crucial to use a strong primer first. She went with one coat of Valspar's Extreme Bond option. Once that was dry, they applied two coats of Setting Plaster using a brush. And when that was all set, they drilled and screwed in their desired knobs and/or handles. A powerful punch requiring very few power tools. I'm honestly impressed.

Lydia Geisel has been on the editorial team at Domino since 2017. Today, she writes and edits home and renovation stories, including house tours, before and afters, and DIYs, and leads our design news coverage. She lives in New York City.
Learn more about Domino.comEditorial Standards